When your air conditioner struggles to cool, the problem is not always the unit itself—it can be the length of the refrigerant lines connecting the indoor and outdoor sections. AC efficiency vs. refrigerant line length is a crucial but often overlooked relationship. Put simply, longer line sets introduce pressure losses, heat gain, oil return challenges, and charging complexity. The result can be higher energy bills, uneven comfort, and shortened equipment life. If your home, small business, or retrofit project requires the condenser to sit far from the air handler, this guide explains what happens, why it matters, and how to design, install, and maintain long refrigerant runs without sacrificing performance.
The Real-World Problem: Why Refrigerant Line Length Can Steal AC Efficiency
Hidden energy loss is the main challenge with long refrigerant lines. Every additional foot of copper adds resistance to refrigerant flow, slight heat exchange with ambient conditions, and more opportunities for charge imbalance. As line length grows, measurable drops in capacity and efficiency become more likely—especially during extreme weather when performance matters most. Not just theory—audits and field data consistently show that systems with extended suction and liquid lines can consume more power for the same or worse comfort.
In typical split systems, manufacturers rate performance at a “standard” line length (often around 15 to 25 feet). Beyond that baseline, capacity correction factors often apply. For example, you may see a few percentage points of capacity loss by 50 to 75 feet, and larger drops beyond 100 feet, depending on line sizing, refrigerant type, vertical lift, and insulation. In practice, a 3-ton system on paper might behave like a 2.7–2.9 ton unit in reality, especially at high outdoor temperatures where pressure drops and heat gain are most punishing.
Comfort consequences are real. Lower evaporating temperatures due to suction pressure losses can lead to colder coils that remove moisture well but reduce total capacity. Liquid line pressure drop and heat gain can warm the liquid refrigerant, reducing subcooling and risking flashing at the expansion device. That can create noisy operation, poor metering, and unstable superheat. Well, here it is: the effect compounds if airflow is marginal or the system is undercharged or overcharged after a long install.
For homeowners and facility managers, the financial impact can be significant. A modest 5–10% efficiency loss over a summer of peak operation translates into higher utility costs and more runtime hours. More runtime means more wear on compressors and fans, which increases maintenance needs. In short, excessive line length doesn’t just hurt efficiency—it can chip away at reliability and lifespan.
Good news does exist. With thoughtful design, correct pipe diameters, proper insulation, accurate charging, and a few accessories, long runs can be tamed. Before you place that condenser on the far side of the building or route lines through a hot attic for convenience, understanding the trade-offs will help you build a quieter, more efficient, and longer-lasting cooling system.
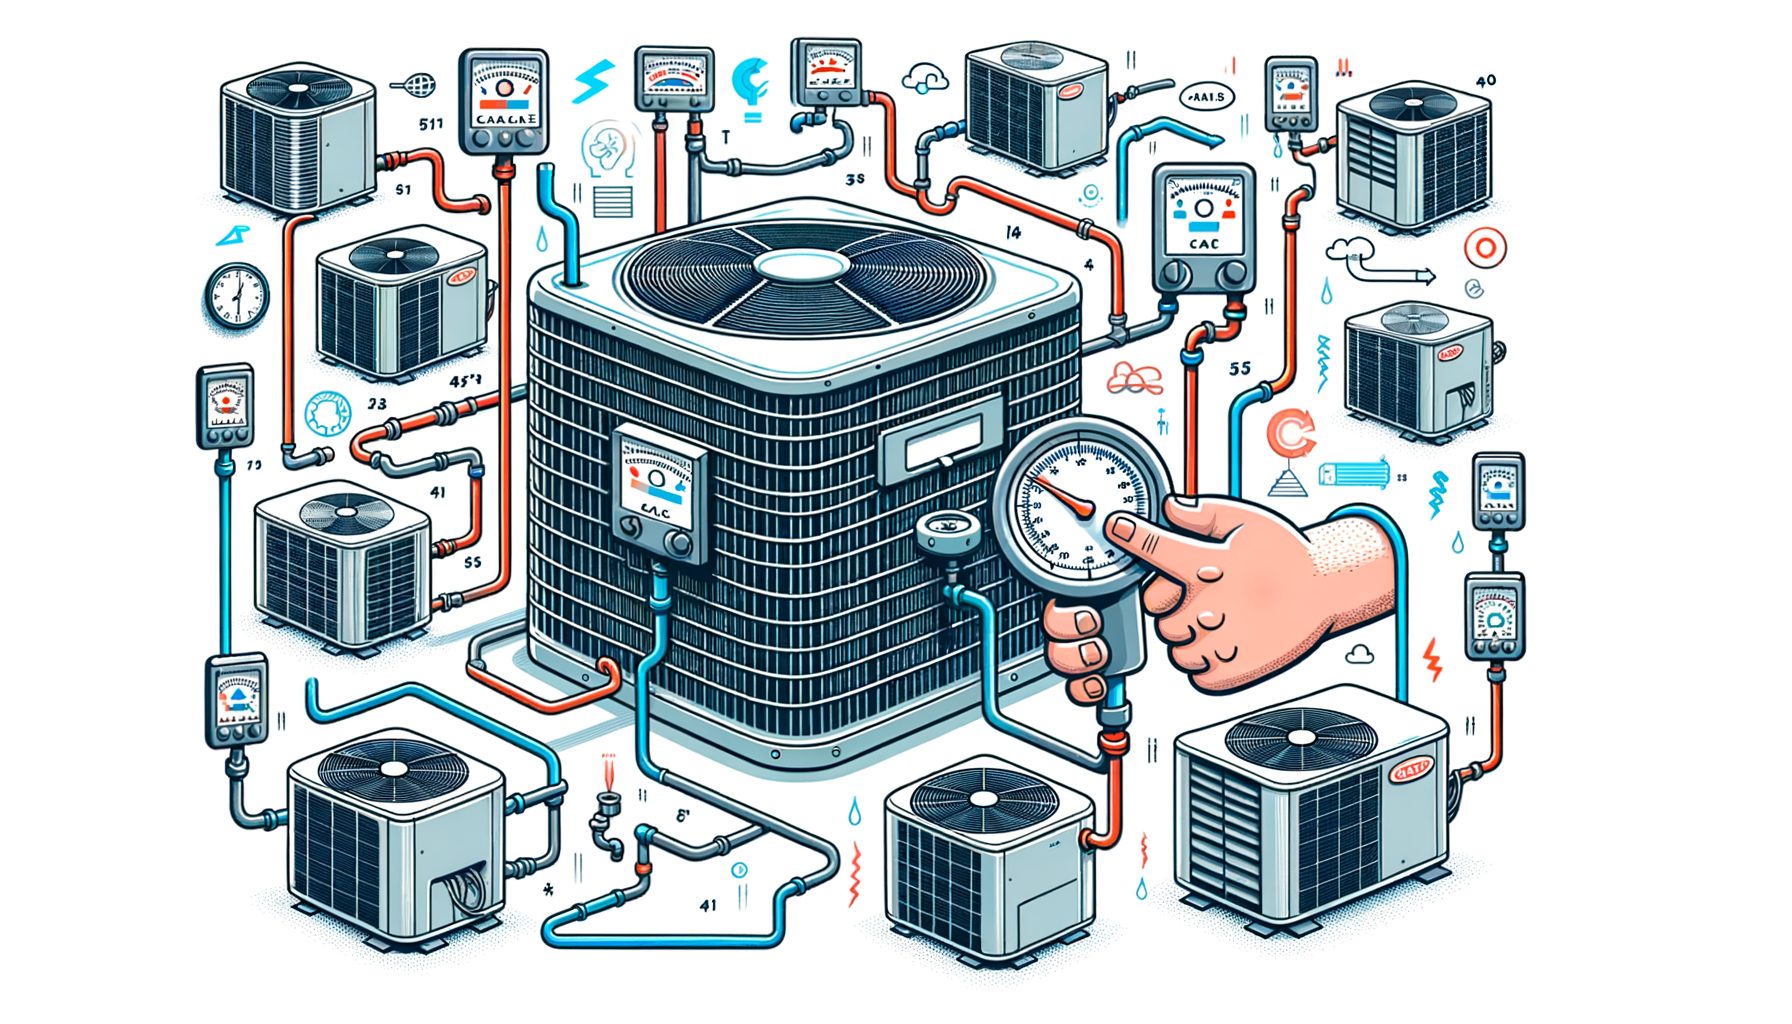
The Physics Behind the Drop: Pressure Loss, Superheat, Oil Return, and Line Sizing
Why does length matter so much? The answer is a mix of thermodynamics and fluid dynamics. Refrigerant moving through copper lines experiences friction. That friction creates pressure drop, which directly affects saturation temperatures in both the evaporator (suction side) and condenser (liquid side).
On the suction line, pressure loss lowers the evaporating pressure. Then this drop pulls down the evaporating temperature. On the liquid line, pressure loss and heat gain can reduce effective subcooling, making it easier for refrigerant to flash before it reaches the expansion device—hurting metering and stability. What’s interesting too, in hot spaces like attics or sunlit exterior runs, uninsulated or under-insulated lines pick up extra heat that further erodes performance.
Pipe diameter complicates the picture. Smaller diameters increase velocity (helpful for oil return) but raise friction and pressure drop. Larger diameters reduce friction but can lower velocity too much for oil to make it back to the compressor, particularly in vertical risers. That is why manufacturers and standards bodies publish recommended velocities and sizing tables. As a broad reference, many designs target higher gas velocities in vertical suction lines to ensure oil return, often in the 1,500–3,000 fpm range, with somewhat lower velocities acceptable on horizontal runs. Always defer to the specific guidance in the installation manual and authoritative sources like ASHRAE.
Refrigerant type matters as well. R410A and R32, common in modern residential systems, have different pressure and density characteristics compared to older R22 systems. That influences acceptable line sizes and maximum lengths, along with charge per foot guidelines. Many manufacturers specify how many ounces of additional refrigerant to add per foot of liquid line beyond the factory charge—often in the ballpark of 0.4–0.6 ounces per foot for a 3/8 inch R410A liquid line, but the exact figure varies by brand and model. Overcharging or undercharging in long-line scenarios is a frequent cause of poor performance, noisy operation, and compressor stress.
Vertical lift introduces additional risks. Raising refrigerant vertically requires sufficient velocity for oil return and imposes distinct maximums. You might see vertical limits on the order of 25–50 feet for conventional splits, higher for mini-splits and VRF depending on the system. Long vertical rises may require traps at specified intervals to help oil return. Similarly, long horizontal runs need strategic routing to avoid sags that form oil traps and to keep lines supported and pitched correctly.
Finally, remember that pressure drop is cumulative. Multiple fittings, valves, filters, and direction changes add equivalent length that increases total resistance. Well, here it is: a clean, direct route with gentle bends frequently outperforms a technically shorter route filled with tight elbows. Thoughtful routing can be the cheapest efficiency upgrade you make on a long line set.
Designing for Long Runs: Practical Guidelines, Calculations, and When to Use Accessories
Effective design for extended line sets starts with the manufacturer’s documentation. Before choosing pipe sizes or ordering copper, verify four essentials: the maximum total line length, the maximum length between the indoor and outdoor units, the maximum vertical separation, and the approved line diameters for your capacity. If your layout pushes any of these limits, you will need corrective measures, a different model, or a new equipment location.
Step 1: Confirm the rated baseline and correction factors. Manufacturers often publish tables that show capacity and efficiency corrections beyond a reference line length (for example, 25 feet). Use those to estimate how your selected length changes performance. If the correction is severe, consider moving the equipment or shifting to a system designed for distance, such as a mini-split or VRF.
Step 2: Size the suction and liquid lines correctly. Select diameters that balance friction and velocity. For a given tonnage, a larger suction line reduces pressure drop but risks poor oil return; a smaller line improves velocity but may cost too much in friction. Lean on the manual’s tables for your refrigerant and capacity. If vertical lift is present, follow rules for P-traps at specified intervals to encourage oil return, especially in tall risers.
Step 3: Account for additional charge. Long liquid lines typically require adding refrigerant. The installation manual often states an additional charge per foot for a specific liquid line diameter. For example, a manufacturer may specify adding a set number of ounces per foot beyond the factory charge for a 3/8 inch R410A liquid line. Weigh the charge in, then verify with measured subcooling and superheat at stable conditions. Do not “charge by pressure” on modern systems.
Step 4: Insulate to stop heat gain. The suction line always needs closed-cell insulation with sufficient wall thickness. In hot climates or high-radiation spaces, insulating the liquid line can also protect subcooling and reduce flashing risk. UV-resistant jacketing and protection from physical damage are critical for outdoor runs.
Step 5: Plan the route to minimize equivalent length and avoid oil traps. Then this: fewer tight elbows and less weaving means less friction. Support lines correctly, maintain slope where required, and avoid low points where oil can collect. Specify line hide or conduit in exposed areas to reduce solar gain and damage risk.
Step 6: Consider long-line accessories. Some manufacturers recommend liquid line driers, mufflers, solenoid valves, crankcase heaters, or even hard start kits for long-line applications. These components can be used to stabilize operation, improve oil return, and protect the compressor. Follow the brand’s long-line application bulletin if available.
Step 7: Commission like a pro. After completing a long-run installation, purge with nitrogen during brazing, pressure test with dry nitrogen per the manual, and evacuate to deep vacuum (often below 500 microns with a decay test). Verify airflow, confirm subcooling and superheat, check temperature splits, and measure line temperatures. Document before/after readings and keep them for future service. Proper commissioning often recovers multiple percentage points of “lost” efficiency.
Practical example: Suppose a 3-ton, R410A split requires a 100-foot total line length with a 20-foot vertical rise. The manufacturer allows up to 125 feet total and 30 feet vertical with specified diameters. You choose the recommended suction and liquid sizes, add the published additional charge per foot, insulate the suction and liquid lines, include a liquid line drier, and add a P-trap in the vertical suction rise. After weighing in the charge, you confirm target subcooling and stable superheat under steady conditions. The result is a system that meets comfort setpoints without excessive runtime, despite the long line set.
Installation and Maintenance Checklist for High-Efficiency Performance Over Distance
Long lines magnify installation quality. A textbook install can keep losses small; a sloppy one can turn a decent design into a chronic energy hog. Use the following best practices to lock in performance and reliability.
Keep the lines clean and dry. Pulling moisture or debris into a long line set makes everything harder—evacuation takes longer, metering becomes unstable, and oil degrades faster. Cap lines during rough-in, braze with nitrogen flowing to prevent internal oxidation scale, and install a liquid line drier sized per the manufacturer.
Pressure test and evacuate properly. Pressure test with dry nitrogen to the manufacturer’s recommended pressure. Then evacuate with a quality pump and micron gauge to deep vacuum. A target below 500 microns with a stable decay is a common benchmark in the trade. Shortcuts here often show up later as nuisance trips, acid formation, or premature compressor issues.
Support, slope, and strap. Long horizontal runs should be supported at regular intervals to avoid sags that trap oil. Follow the manual’s guidance on pitch and the use of traps for vertical rises. Avoid tight bends that increase friction. Protect the lines from mechanical damage with covers or conduit, and avoid direct sun on exterior runs where possible.
Insulate smartly. Use thick, closed-cell insulation on the suction line. In hot climates or attic runs, insulating the liquid line reduces heat gain and protects subcooling. Seal insulation joints and use UV-rated coverings outdoors.
Commission by the numbers. Weigh in the charge, then fine-tune using target subcooling and superheat. Confirm airflow across the coil (CFM per ton), verify the thermostat and controls, and log pressures and temperatures. For inverter-driven mini-splits and VRF, follow the system’s self-diagnostics and commissioning routines exactly—these systems are more tolerant of length but demand precise setup.
Monitor performance over time. After a few weeks of operation, recheck subcooling, superheat, line temperatures, and amp draw on a hot day. Slight adjustments or filter/coil cleaning can recover lost efficiency.
The table below offers typical, generalized impacts of increasing line length on residential splits, assuming acceptable line sizing, insulation, and charging. Actual results vary by model, install, and climate, so always defer to the manufacturer’s data.
| Total Line Length (ft) | Typical Capacity Impact | Typical Efficiency (SEER/COP) Impact | Notes |
|---|---|---|---|
| 25 (baseline) | ≈ 0% | ≈ 0% | Common rating length in manuals |
| 50 | ~1–3% lower | ~1–3% lower | Good design minimizes loss |
| 75 | ~2–5% lower | ~2–5% lower | Check subcooling carefully |
| 100 | ~4–8% lower | ~4–8% lower | Often needs accessories and meticulous commissioning |
| 150+ | ~7–12% lower or more | ~7–12% lower or more | Consider systems designed for long runs (mini-split/VRF) |
As a reality check, many conventional split systems cap total length near 50–150 feet and vertical lift around a few dozen feet. Mini-splits commonly allow 65–164 feet or more per branch, while VRF systems can stretch much farther with engineered piping and branch controllers. The key is not just the number, but whether your design stays within the diameter, charge, and accessory rules that keep oil moving and refrigerant stable.
Q&A: Common Questions About AC Efficiency and Line Length
Q: What is “too long” for a refrigerant line set? A: “Too long” depends on the specific system. Many conventional split systems set maximums in the 50–150 foot range for total length and place limits on vertical separation. Mini-splits and VRF systems usually allow much longer runs. Always check the exact limits and correction tables in your manual and stay within those parameters.
Q: Can I just use a larger diameter to fix pressure drop? A: Oversizing reduces friction but can create low velocities that hurt oil return, especially in vertical risers. The right answer is to use manufacturer-approved sizes, add traps where required, and design for both acceptable pressure drop and oil return. Bigger is not always better.
Q: Should I add extra refrigerant for long lines? A: Yes, but only per the manufacturer’s formula and after weighing the charge. Most manuals list ounces per foot for the liquid line size in use. After weighing in, verify subcooling and superheat at stable conditions to confirm you landed in the sweet spot.
Q: Does coiling extra line behind the condenser harm efficiency? A: Coiling can increase equivalent length and heat pickup, and tight coils raise friction. If extra line is unavoidable, route it neatly, keep bend radii generous, protect it from sun and damage, and avoid unnecessary fittings. Better yet, cut to the correct length when permitted by the manufacturer and local codes.
Q: When should I consider a mini-split or VRF instead of a standard split? A: If your project demands long runs or complex multi-zone piping, a system designed for distance and precise control—like a high-quality mini-split or VRF—can deliver better efficiency, easier commissioning, and manufacturer-supported long-line engineering.
Conclusion: How to Keep Efficiency High When Distance Gets in the Way
Here is the bottom line: refrigerant line length subtly but decisively shapes AC performance. Longer line sets increase pressure drop and heat gain, complicate oil return, and make charging more sensitive. Left unchecked, these factors sap capacity, raise energy use, and strain components. The solution is not guesswork—it is disciplined design and commissioning. Start with your manufacturer’s maximum lengths, vertical limits, and approved diameters. Choose pipe sizes that balance friction and velocity. Insulate both suction and, in many climates, liquid lines. Add the correct charge by weight, confirm target subcooling and superheat, and use long-line accessories when recommended. Route lines cleanly, support them well, and protect them from heat and damage. Finally, document your readings and revisit them after a few weeks of operation to ensure stable, efficient performance.
Planning a new install or troubleshooting a sluggish system? Measure your actual line length and vertical rise. Pull the installation manual for your exact model and compare your setup against the published limits and correction tables. If you are near or over the thresholds, consult a licensed HVAC professional to resize lines, adjust charge, add accessories, or consider equipment better suited to long runs such as mini-splits or VRF. A focused commissioning visit can recover several percentage points of performance—savings that compound every month your system runs.
You do not need to settle for high bills or lukewarm comfort just because your equipment sits far away. With the right plan and a careful install, even long line sets can deliver cool, quiet, and efficient operation. Start with the manual, design on purpose, and verify with numbers. Your AC will thank you with lower runtime, better comfort, and a longer life. Ready to take the next step? Schedule a professional checkup, gather your site measurements, and set a goal to reclaim every bit of efficiency you are paying for. Small actions today become big comfort tomorrow—what one improvement will you tackle first?
Sources and Further Reading:
ASHRAE Handbook (Fundamentals and Refrigeration)
ENERGY STAR: Heating & Cooling
ASHRAE Design Guide for Residential Heat Pumps
Carrier Residential Support and Manuals
Mitsubishi Electric: Ductless and VRF Resources