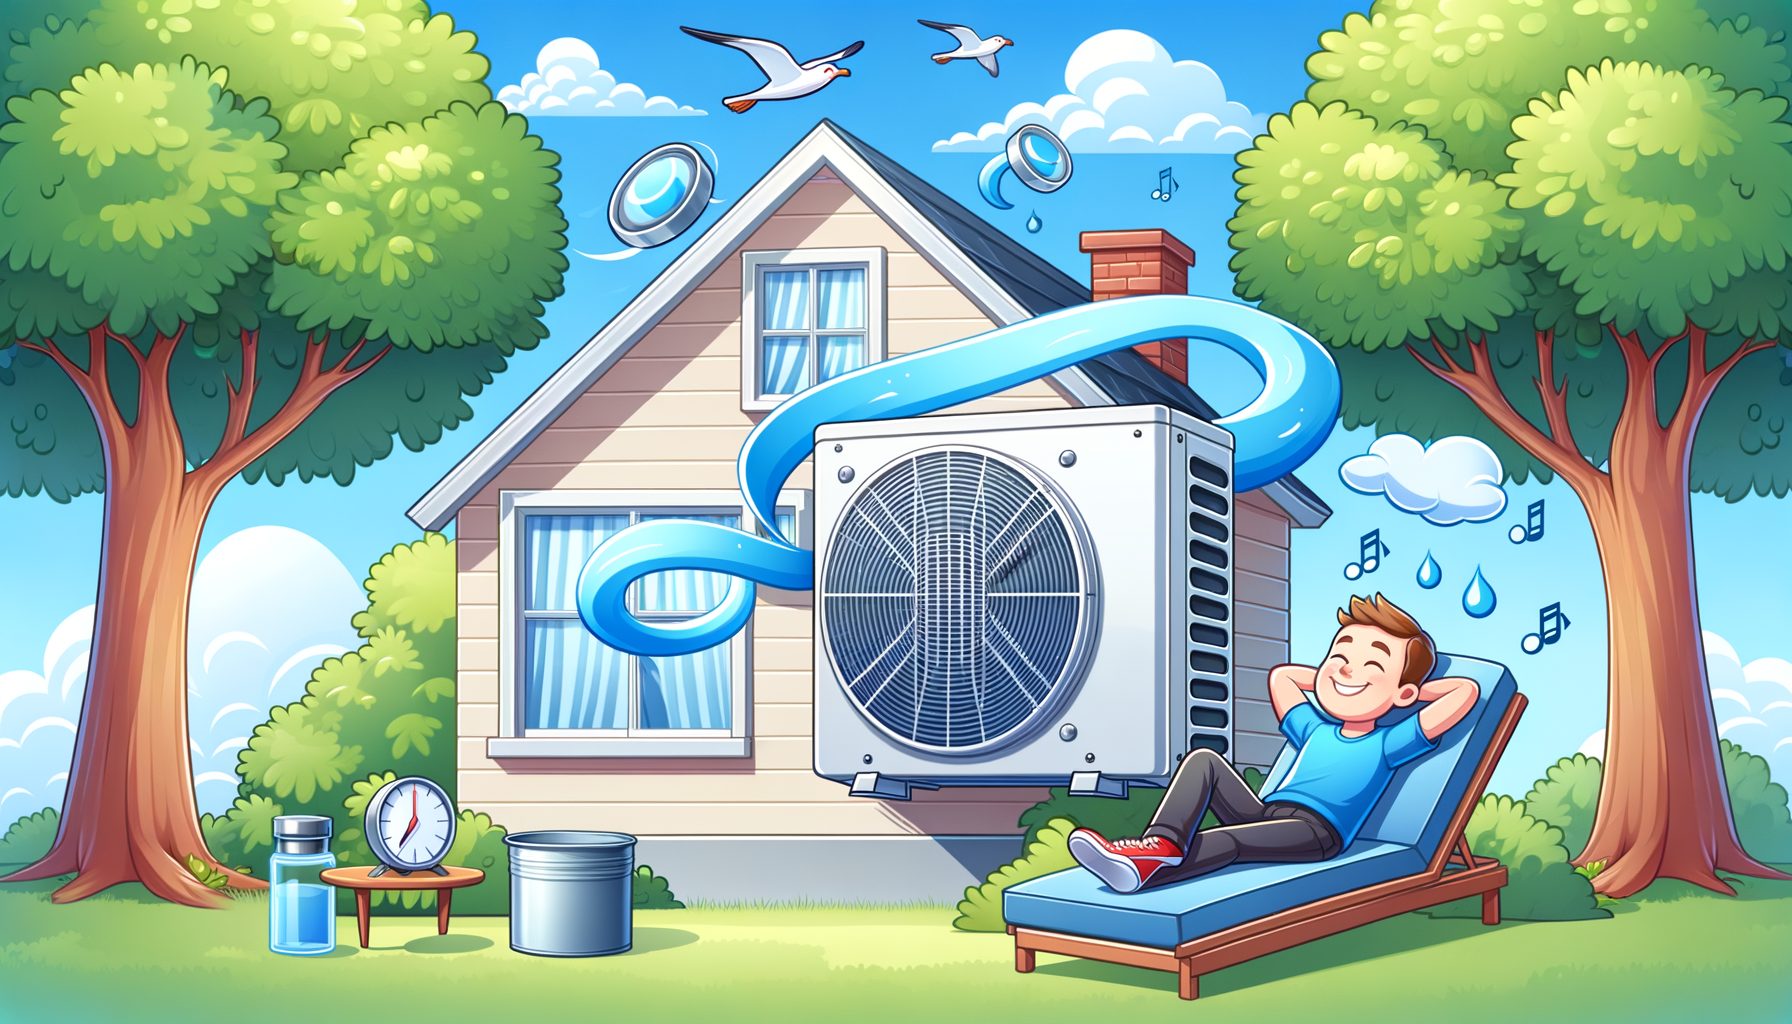
The fastest way to lower your cooling bills and cut unwanted noise is not a new thermostat or a fancy app—it is smarter outdoor AC compressor placement. With optimal placement for quiet efficiency, your system breathes easier, runs less, and hums instead of roars. The guide below shows exactly where (and why) to set the unit so you get strong cooling, low noise, and long equipment life—without trial and error.
Why Placement Makes or Breaks Comfort, Noise, and Energy Costs
Your outdoor unit (condenser/compressor) rejects heat to the outside air. When the surrounding air is hot, still, or recirculated, the system must work harder to push heat out. That drives up energy use, raises noise, and accelerates wear on components. Place it well, and backpressure falls, run times shorten, and decibels drop together. The stakes are real: a poorly located unit can run 10–20% longer on hot days, drive indoor coil temperatures up, and add multiple decibels to your backyard soundscape.
Three forces deserve attention from the start: airflow, distance, and surroundings. Airflow is non‑negotiable: the fan needs a clear path to pull in ambient air and push hot air up and away. Distance matters because long refrigerant line runs and tight alcoves add losses and trap heat. Surroundings—walls, fences, decks, hard surfaces—can reflect sound and exhaust heat right back into the coil, creating a noisy, inefficient loop.
In real homes and apartments, people and property also steer decisions: keep noise away from bedrooms, neighbors, and shared patios; avoid sightlines that hurt curb appeal; and leave safe access for technicians. Good placement turns those constraints into a plan. For example, shifting a unit just 1–2 meters from a corner, adding a small hedge or acoustic fence with a 10–15 cm gap, and rotating the discharge to blow up and away can cut perceived noise while improving coil temperature. Even simple choices—shade without blocking airflow, a solid anti‑vibration pad, and the right standoff from walls—can add up to quieter nights and lower bills.
Bottom line: strategic placement is a permanent upgrade you pay for once and benefit from every season. Next up, here is exactly how to get it right.
Airflow, Clearance, and Code Basics You Cannot Skip
Airflow is the engine of condenser efficiency. Starve the fan and hot discharge air recirculates, raising condensing temperature and compressor amps. The result: louder, costlier cooling. Most manufacturers publish minimum clearances; always follow your model’s manual first. When in doubt, use the conservative end of typical industry ranges shown below and keep the top completely unobstructed.
Clearances also protect serviceability. Technicians need space to remove panels, connect gauges, and perform cleaning. Many codes require an electrical disconnect within sight of the unit and unobstructed working clearance. Keep drains, dryer vents, gas meters, and intakes well away to avoid lint, corrosive chemicals, and combustion hazards. Also keep runs short: long refrigerant lines increase pressure drop and often require extra refrigerant charge, which can reduce system capacity and efficiency if not correctly calculated.
Below is a quick-reference table to get you started—then confirm with your unit’s installation guide and local code.
| Item | Recommended Range/Rule | Why It Matters |
|---|---|---|
| Side clearance to walls/fences | 30–60 cm (12–24 in) on all sides; more is better | Prevents hot air recirculation; eases service |
| Front (service panel) clearance | 90 cm (36 in) minimum | Safe technician access; required by many codes |
| Top clearance | ≥150 cm (60 in) open to sky | Allows hot air to discharge upward freely |
| Distance from dryer/gas vents | ≥180 cm (6 ft) | Lint and chemicals damage coils and motors |
| Elevation above grade | 15–30 cm (6–12 in) on a level pad | Keeps coil above snow, splash, and debris |
| Line set length | As short/straight as possible; follow model limits | Less pressure drop; fewer efficiency losses |
| Electrical disconnect | Within sight; clear access | Safety and maintenance |
Start by picking a spot that is naturally open on at least two sides and not tucked into a dead-end corner. Keep the fan discharge facing up (most residential condensers are vertical discharge). If placement in an alcove is unavoidable, increase side clearances and add louvered openings high and low to break up recirculation. On decks, ensure at least 5 cm (2 in) of airflow under the pad and stiffen the framing to prevent vibration.
Helpful resources: The U.S. Department of Energy’s Energy Saver pages explain residential cooling fundamentals and maintenance basics (energy.gov/energysaver). Manufacturers like Carrier, Trane, and Daikin publish model‑specific clearances in their installation instructions—always defer to those documents.
Noise-Smart Placement: From Decibels to Barriers and Mounts
Noise travels through air and structure. Choose a location that minimizes both paths. Airborne noise (fan and compressor hum) falls with distance and is reflected by hard surfaces. Structure‑borne noise travels through pads, decks, and walls. The goal: keep sound levels comfortable on your property and your neighbor’s, especially at night.
Understand the numbers: many residential condensers operate around 55–75 dB(A) at 1 meter. Outdoors, perceived loudness roughly halves for every 6–10 dB drop, or with sensible distance and absorption. The World Health Organization suggests keeping outdoor sound near dwellings below about 55 dB in the day to reduce annoyance risk (WHO noise guidance). While your AC may transiently exceed that at the unit face, smart placement can keep property-line levels polite.
Field-tested practices that lower noise without hurting airflow:
1) Distance and direction: Put the unit as far as practical from bedrooms, patios, and property lines, without violating line set limits. Rotate the unit so the fan discharge is not blowing toward reflective soffits or walls. Even a 1–2 m shift away from a corner can cut noticeable echo.
2) Surfaces: Hard masonry can reflect sound. If the unit must sit near a wall, a fence with absorptive inner lining (weather-rated acoustic foam or mineral wool behind slats) on the property-line side can reduce reflections. Keep any barrier at least 60–90 cm from the unit on all sides to maintain airflow.
3) Isolation: Use a solid, level concrete or composite pad plus anti‑vibration rubber isolation feet under the unit. On decks or roofs, add vibration isolation mounts and stiffen the structure. Refrigerant lines should be isolated with cushion clamps so they do not rattle on metal or wood.
4) Partial barriers that breathe: A three‑sided fence or hedge taller than the unit (with a 10–15 cm top gap and 30–60 cm side gaps) can deflect and absorb sound while preserving airflow. Never fully enclose the unit; overheating will make it louder and less efficient.
5) Choose quieter tech: Inverter/variable‑speed condensers typically run at lower RPM most of the time, cutting both noise and energy use. Look for modern SEER2‑rated systems and check manufacturer sound ratings before you buy. ENERGY STAR’s product finder can help (energystar.gov/products).
Sketch a quick noise map: mark bedrooms (yours and neighbors’), outdoor sitting areas, and reflective walls. Pick a placement that “points” the unit away from those sensitive zones, adds soft landscaping or an acoustic fence where needed, and preserves generous clearance. The result is a system you barely notice, even on the hottest nights.
Microclimate and Durability: Shade, Wind, Rain, Snow, and Corrosion
Beyond clearance and noise, the microclimate around your unit shapes efficiency and longevity. The ideal spot is shaded, well‑ventilated, and dry—without trapping exhaust heat.
Shade: Shading the condenser can reduce incoming air temperature and improve performance modestly. Expect a small but real benefit (often in the 2–5% range) when you provide shade that does not impede airflow, such as a high open pergola or a north/east‑side placement. Avoid dense shrubs tight to the coil; they block air and trap heat. The U.S. DOE notes that strategic shading helps when done without restricting air movement (DOE Energy Saver on AC).
Wind: Very strong prevailing winds can disrupt fan discharge. If you live in a windy corridor or on a roof, consider a wind baffle designed for your unit (some manufacturers offer them) and orient the unit so discharge air is not blasted back onto the coil. Keep rooftop units set back from parapets that can cause swirling recirculation.
Rain, snow, and drainage: Elevate the unit 15–30 cm above grade on a level pad to avoid puddles, mud, and snow drifts. In heavy‑snow regions, raise higher and keep clear paths for melt runoff. Never cover the top while operating; off‑season breathable covers are fine only when the system is disconnected and used per the manufacturer.
Flood zones: If you are in a mapped flood area, mount the unit above the base flood elevation on a secure platform and anchor per local code. FEMA provides guidance on elevating utilities in flood-prone zones (fema.gov—search “elevating utilities”).
Coastal and corrosive environments: Salt air and industrial pollutants accelerate coil corrosion. Choose coastal-rated units with protective coatings, rinse coils with fresh water seasonally, and avoid placing the unit downwind of dryer or pool chemical vents. ASHRAE and manufacturer bulletins offer best practices for corrosion mitigation (ASHRAE technical resources).
Roof vs. ground: Ground placement is usually quieter and simpler to service, provided drainage is good and the unit is secure. Roof placement can save yard space and shorten line sets for top‑floor apartments, but it requires vibration isolation, safe access, wind considerations, and a proper support curb. Whichever you choose, keep the top open and the service side clear. Finally, plan landscaping: flat river rock instead of mulch near the pad reduces debris, and a small hedge 60–90 cm away softens sound without choking airflow.
Q&A: Common Questions on Outdoor AC Compressor Placement
Q: How close can I place the unit to a wall or fence?
A: Start with your manual. Typical side clearances are 30–60 cm (12–24 in) on all sides and about 150 cm (60 in) of open space above. Leave at least 90 cm (36 in) in front of the service panel.
Q: Does placing the unit in shade really help?
A: Yes—modestly, usually a few percent. Shade helps most when it lowers surrounding air temperature without restricting airflow. High, open shade structures or natural shade on the north/east side work well.
Q: Will a fence or box around the AC make it quieter?
A: A breathable, three‑sided fence or hedge with absorptive lining can reduce perceived noise. Keep 60–90 cm clearance on all sides and never fully enclose the unit; overheating will increase noise and energy use.
Q: How far can the condenser be from the indoor unit?
A: It depends on your system. Many residential splits allow tens of meters, but capacity and efficiency can drop with very long or vertical runs. Check your model’s limits and charging instructions; shorter and straighter is usually better.
Q: Is rooftop placement better than ground placement?
A: It varies by space, access, and wind. Roofs can reduce line length for upper floors but often need extra vibration control and wind protection. Ground installs are usually quieter and easier to service if drainage is good.
Conclusion: Put Your Condenser in the Right Place and Win Every Summer
Smart outdoor AC compressor placement is the rare improvement that solves multiple problems at once. Respect airflow and clearances, point sound away from people, and work with your site’s microclimate to unlock quieter operation, lower energy use, and longer equipment life—without spending more on the system itself. The core moves are simple: keep sides open (30–60 cm), the top clear (≥150 cm), service space accessible (≥90 cm), avoid hot corners and linty vents, add shade that breathes, and isolate vibration. When distance or reflections cannot be avoided, a breathable acoustic fence or soft landscaping 60–90 cm from the unit can redirect and absorb noise while preserving performance.
Ready to act? Walk your property with this quick checklist: 1) Pick an open, shaded spot away from bedrooms and neighbors; 2) Measure and mark clearances on the ground; 3) Plan the shortest, straightest line set path and electrical disconnect location; 4) Set a level, elevated pad with anti‑vibration feet; 5) Add a breathable noise screen or hedge if needed; 6) Confirm everything against your model’s installation guide and local code; 7) Book a licensed HVAC pro to finalize, evacuate, and charge the system. Already have an installed unit? You can still improve performance by trimming vegetation, adding isolation feet, rotating the unit for better discharge, or installing a properly spaced acoustic fence.
Your comfort and silence are not accidents—they are designed. Place your outdoor unit with intention today, and you will feel (and hear) the difference on the very next heat wave. If you could move your condenser just one meter to make your backyard quieter, would you do it this weekend? Take that first step now, and let your AC work smarter, not harder.
Helpful outbound resources:
– U.S. Department of Energy Energy Saver: https://www.energy.gov/energysaver/air-conditioning
– ENERGY STAR Heating & Cooling: https://www.energystar.gov/products/heating_cooling
– ASHRAE Technical Resources: https://www.ashrae.org/technical-resources
– WHO Noise and Health Overview: https://www.who.int/health-topics/noise
– FEMA Guidance on Utilities in Flood Zones: https://www.fema.gov
Sources:
– U.S. Department of Energy, Energy Saver: Air Conditioning Basics and Tips, accessed 2025: energy.gov/energysaver/air-conditioning
– ENERGY STAR, Certified Central Air Conditioners and Heat Pumps: energystar.gov/products/heating_cooling
– World Health Organization, Noise Guidelines (overview): who.int/health-topics/noise
– ASHRAE Technical Resources and Handbooks: ashrae.org/technical-resources
– Typical manufacturer installation instructions (e.g., Carrier, Trane, Daikin) for clearance and service space recommendations—consult your model’s manual.