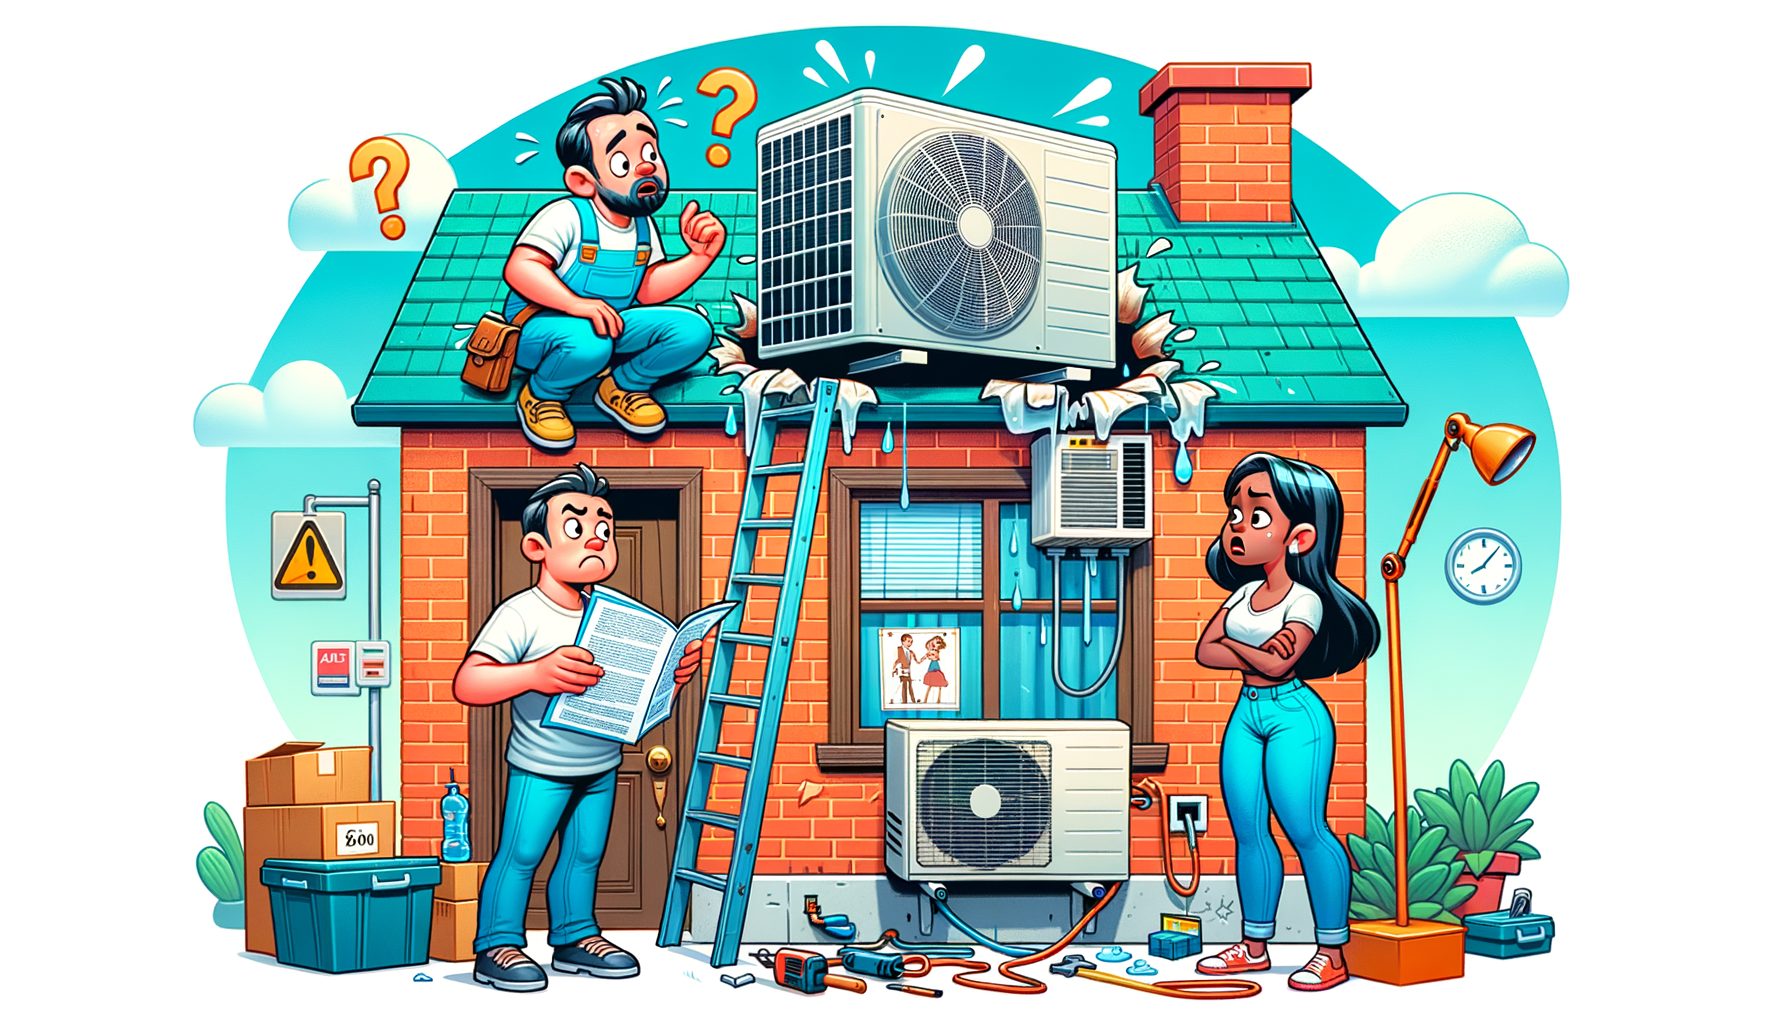
Air conditioning should deliver quiet comfort and lower bills, not surprise repairs and sky-high energy costs. Yet many homeowners unknowingly fall into AC installation mistakes that lock in problems from day one. The main issue is simple: if an AC system is wrong-sized, poorly ducted, or improperly commissioned, you pay for it every month through higher energy use, uneven rooms, humidity issues, and frequent breakdowns. Here’s a guide that explains the top costly AC installation mistakes homeowners should avoid, why they matter, and the exact steps to prevent them. If you’re about to install or replace a system, read this first to save money, protect your equipment, and get the comfort you’re paying for.
Mistake 1: Skipping a Proper Load Calculation and Getting the Size Wrong
Right-sizing is the foundation of a successful AC installation. Unfortunately, one of the most common AC installation mistakes is choosing equipment based on rough rules of thumb like “X tons per square meter” or “X tons per 500 square feet.” That guesswork ignores your home’s actual heat gains and losses—things like insulation levels, window area and orientation, air leakage, shading, occupancy, and local climate. The result is either an oversized system that short-cycles and fails to dehumidify, or an undersized system that runs constantly and still can’t keep up on hot days.
Industry best practice is a room-by-room Manual J load calculation, followed by Manual S (equipment selection) to match capacity to your home’s needs, and Manual D for ducts. The load calc is math, not marketing. It uses your home’s inputs to estimate peak cooling load and sensible/latent split (temperature vs. humidity). It matters globally because a home in a humid coastal city needs different performance than one in a dry, high-altitude region, even if they’re the same size. Oversizing can increase energy use and reduce comfort by allowing the system to hit temperature setpoint before removing enough moisture. Undersizing forces long run times, higher bills, and wear. The U.S. ENERGY STAR program reports that many systems are installed incorrectly, cutting performance by up to 30%—and sizing is a big part of that story.
Here’s how sizing errors translate into real-world pain and cost. Oversized equipment tends to create hot-cold swings and clammy air, which often triggers thermostat fiddling and space heaters or dehumidifiers—more energy, more cost. Short cycling also stresses compressors and fans. Undersized units can keep you slightly cool but never comfortable, especially during heat waves. They also struggle to remove humidity, which can lead to condensation, musty smells, and potential mold issues in some climates. Right-sized systems run steady, remove humidity effectively, and deliver even temperatures with less noise.
Action steps: Ask any contractor to show you the Manual J report for your specific house. Look for inputs like window U-values, solar heat gain coefficients, insulation R-values, and infiltration rates—not just square footage. Confirm the chosen model’s capacity (Manual S) matches the sensible and latent loads, not just the nominal tonnage. If you’re curious, ACCA explains Manual J in simple terms for homeowners at acca.org. For general efficiency tips, see the U.S. Department of Energy at energy.gov/energysaver/air-conditioning.
| Sizing Outcome | Common Symptoms | Typical Impact |
|---|---|---|
| Oversized | Short cycling, clammy air, temperature swings, higher noise | Lower dehumidification, higher wear, up to double-digit energy waste |
| Undersized | Runs nonstop, struggles on peak days, rooms never quite cool | Comfort complaints, high bills, faster component wear |
| Right-sized | Steady operation, even temps, good humidity control | Lower energy use, longer equipment life, reliable comfort |
Mistake 2: Ignoring Ductwork Design, Sealing, and Insulation
Ducts are the hidden highways of your cooling system. When they’re undersized, leaky, or poorly insulated, your AC loses performance before air even reaches the rooms. It’s one of the most expensive AC installation mistakes because the consequences show up every month on your utility bill and every day in uneven room temperatures. ENERGY STAR notes that typical homes can lose 20% to 30% of the air moving through the duct system due to leaks. If you’re paying to cool air that never makes it to the living space, you’re literally sending money into the attic or crawlspace.
Good ductwork starts with a proper design (ACCA Manual D) to match airflow needs for each room, based on the load calculation. That design sets duct sizes, trunk/branch layout, and the number and placement of supply registers and return grilles. In practice, many systems end up with kinked flexible ducts, sharp turns, crushed runs, or tiny returns. Those restrictions increase static pressure, choking airflow and causing noisy vents, poor cooling, icing on coils, and reduced equipment life. Even brand-new equipment can underperform if the ducts are wrong.
Sealing and insulating ducts are equally critical. Joints should be sealed with mastic or UL 181-rated tape, not generic cloth “duct tape.” Ducts in unconditioned spaces should be insulated to code or better to reduce heat gain. If you live in a hot climate, uninsulated metal ducts in the attic can add major load, undoing much of your AC’s work. A professional duct leakage test can quantify the problem; ask for a result in percentage of system airflow. Aim for tight ducts and low leakage—your contractor can advise targets based on local code and best practice.
Practical steps: Ask for a duct design or verification before installation. Confirm adequate return air; many homes need more return grille area to bring static pressure down. Request a duct leakage test after sealing work. If you’re replacing an outdoor unit but keeping old ducts, budget for duct repairs and sealing—the best equipment can’t overcome a leaky highway. For more on duct efficiency and sealing practices, visit ENERGY STAR at energystar.gov and the U.S. DOE’s ducts guide at energy.gov/energysaver/ducts.
If you want a quick rule of thumb for airflow, many manufacturers target around 350 to 450 cubic feet per minute (CFM) per ton of cooling (which is roughly 170 to 220 liters per second per kilowatt). But don’t use rules of thumb to size ducts; use the Manual D design and then verify in the field with static pressure measurements. A well-designed, sealed, and insulated duct system can cut noise, improve comfort, and reduce energy use immediately.
Mistake 3: Skipping Airflow Setup, Refrigerant Charge, and Full Commissioning
Commissioning is the quality-control step that ensures your new AC performs as designed. It’s not optional if you care about comfort and bills. Yet it’s often skipped due to time pressure or the assumption that “new equals perfect.” Without proper commissioning, even a premium system can run below spec, sometimes by a wide margin. Studies and field experience show that incorrect refrigerant charge and airflow can cut capacity and efficiency significantly—energy programs consistently report performance losses when these basics aren’t verified. ENERGY STAR emphasizes that quality installation and commissioning can improve performance dramatically, reducing issues that lead to higher costs.
What does commissioning include? First, airflow setup: the installer checks external static pressure, adjusts blower speed, and verifies that the system is delivering the target airflow across the coil. If the duct system is too restrictive, static pressure will be high, airflow low, and the evaporator may get too cold, risking coil icing. Second, refrigerant charging: the tech should evacuate the system to deep vacuum, purge with nitrogen during brazing to protect the line set, then charge by weighed-in amount and confirm with superheat and subcooling measurements matched to the manufacturer’s charging charts. Line set length and vertical lift affect charge; guessing can leave you undercharged (low capacity, overheating compressor) or overcharged (floodback risk, high energy use).
Third, controls and safety checks: verify thermostat configuration, staging or inverter settings, float switches for condensate overflow, crankcase heaters (where applicable), electrical connections, breaker sizing, and a clean filter with correct orientation. Fourth, documentation: a proper commissioning report includes measured supply/return air temperatures, static pressure, superheat/subcooling, voltage, amperage, and refrigerant type and quantity used. That data is a snapshot of your system’s health on day one and is invaluable for warranty and troubleshooting later.
Your action plan: before work starts, ask the contractor to provide a commissioning checklist and a copy of the final report. Confirm that they will measure static pressure and refrigerant parameters—not just “feel the vents.” Request photos of gauges/screens showing readings. If your installer seems unsure about commissioning, consider another pro or ask them to follow a recognized quality installation protocol. For background on quality installation, see ENERGY STAR’s guidance at energystar.gov. If you’re technically curious, the National Comfort Institute offers resources on static pressure and airflow diagnostics at nationalcomfortinstitute.com.
Mistake 4: Poor Equipment Placement, Permits, and Warranty Oversights
Where and how your system is installed matters as much as the brand on the box. Outdoor units need clear airflow on all sides and above; crowding a condenser against a wall or bushes recirculates hot exhaust air and reduces efficiency. Manufacturers publish minimum clearances (often around 30 cm to 60 cm on sides and more above), so check your unit’s manual. Avoid placing outdoor units in enclosed courtyards without adequate ventilation. Keep them off the ground to prevent debris and snow buildup where applicable, and consider corrosion protection in coastal areas. Shading can help slightly in hot sun, but never at the expense of airflow; don’t add covers or fences that obstruct intake or exhaust.
Indoors, avoid placing air handlers where service access is tight or where condensate drains are difficult to maintain. Condensate management is a silent hero: the drain should slope, be trapped if required by the manufacturer, and have an overflow safety switch to prevent water damage. A clogged, unprotected drain line can lead to soggy ceilings and expensive repairs. Routing of the refrigerant line set should minimize excessive lengths and sharp bends, be protected from UV, and be insulated to prevent condensation. Electrical work should include a properly sized disconnect and breaker, correct wire gauge, and, where required, GFCI/RCD protection for outdoor equipment per local code.
Permits and inspections protect you and your warranty. Skipping permits may seem faster, but it can void insurance claims or trigger fines. An inspector verifies clearances, electrical safety, and code compliance. Many manufacturers also require product registration, often within 60 days of install, to activate extended parts warranties. Keep copies of invoices, serial numbers, commissioning reports, and proof of maintenance; these documents can make warranty claims smooth instead of stressful.
Practical moves: confirm in writing that the contractor will pull required permits and schedule inspections. Ask them to register the equipment in your name and provide proof, or do it yourself on the manufacturer’s website after installation. Place the outdoor unit on a level, secure pad with anti-vibration feet if needed, and maintain a clean perimeter free of weeds and obstructions. Consider a surge protector if your region has unstable power. For general guidance on AC placement and efficiency, the U.S. DOE’s Energy Saver resources are helpful: energy.gov/energysaver/central-air-conditioning.
Quick Q&A: Common Questions About AC Installation Mistakes
Q: Is a bigger AC always better for faster cooling? A: No. Oversized systems cool the air quickly but remove less humidity, causing clammy discomfort and short cycling that increases wear and energy use. Right-sized systems deliver steady, comfortable cooling.
Q: Can I keep my old ducts when I replace the outdoor unit? A: Sometimes, but only after testing and inspection. Leaky or undersized ducts can waste 20–30% of airflow. Plan for duct sealing, resizing, or adding returns if tests show issues.
Q: How do I know if my system was commissioned properly? A: Ask for a commissioning report showing static pressure, airflow setup, superheat/subcooling, voltage/amp readings, and thermostat configuration. If you only get a handwritten “all good,” push for real numbers.
Q: Do permits really matter for AC? A: Yes. Permits help ensure safety, protect resale value, and keep warranties/insurance intact. Skipping them can create expensive problems later.
Conclusion
The fastest way to waste money on a new air conditioner is to lock in problems during installation. We covered the four most expensive AC installation mistakes homeowners should avoid: wrong sizing due to skipped load calculations, duct systems that leak or choke airflow, missing commissioning that leaves refrigerant charge and airflow out of spec, and site details—placement, permits, and warranties—that seem small but lead to big bills. Each of these issues undermines comfort, raises energy use, and shortens equipment life. The good news: you can prevent them with a clear plan and the right questions.
Here is your practical checklist to act on now. First, insist on a Manual J load calculation and ask to see the report; then confirm equipment selection with Manual S and duct design with Manual D. Second, verify the duct system with a leakage test and a static pressure check; approve sealing and insulation upgrades if needed. Third, require full commissioning with documented readings for airflow, static pressure, superheat, and subcooling, along with a copy of the startup report. Fourth, confirm permits and inspections, proper clearances, and warranty registration in your name. These four steps alone can protect your comfort and lower your operating costs for a decade or more.
If you’re comparing bids, ask each contractor to include three deliverables in writing: the Manual J/S/D design package, a duct leakage test result, and a commissioning report on completion. Contractors who embrace this process are signaling quality and accountability. Use the trusted resources linked above—like ACCA, ENERGY STAR, and the U.S. Department of Energy—to learn more and to check any claims you’re given. If you already installed a system and suspect issues, start with a performance check: measure room temperatures, listen for noisy vents, and request a service visit focused on airflow and charge verification.
Your home should feel consistently cool, dry, and quiet—without painful utility bills. With the right questions and a little preparation, you can avoid the most common AC installation mistakes and enjoy better comfort from day one. Ready to protect your investment? Reach out to a qualified contractor, share this checklist, and schedule a load calculation and duct assessment before you sign. Comfort is a choice—made at installation. What’s the first item on your checklist you’ll tackle today?
Sources
ACCA Manual J overview: https://www.acca.org/homeowners/what-is-manual-j
U.S. Department of Energy – Air Conditioning: https://www.energy.gov/energysaver/air-conditioning
U.S. Department of Energy – Ducts: https://www.energy.gov/energysaver/ducts
ENERGY STAR – Quality Installation: https://www.energystar.gov/campaign/heating_cooling/upgrade/quality-installation
ENERGY STAR – Improve Duct Sealing: https://www.energystar.gov/campaign/heating_cooling/improve_sealing
National Comfort Institute – Airflow and Static Pressure Resources: https://www.nationalcomfortinstitute.com/